
Automatic Orientation with Natural Points
Overview
For the calculation of the automatic orientation the computer should have a NVIDIA graphics card with at least 4GB RAM, and a current driver must be installed that supports at least CUDA 9.1. better 10.0 or newer. Then the calculation will be done in enormous speed. Without GPU support the calculation takes up to 50 times longer.
The procedure of the automatic orientation is as follows: ELCOVISION 10 examines the images for prominent points, potential homologous points, with a speed of < 0.5s for 35MPixel images, finding image pairs for the later orientation is done with up to several dozen image pair tests per second. The subsequent orientation itself orients an image every 1-3 seconds on average, even over very large photo blocks. The camera(s) can also be calibrated simultaneously. With simultaneous calibration, however, the achieved accuracies are a little lower than with previously calibrated cameras. Also the image setup should not be too bad, i.e. there should be a certain depth extension in the photos, if there are edged images (landscape and portrait, upside down portrait and landscape) the main point position can be calibrated reasonably well.
Optionally a high density point cloud can be calculated directly after the orientation. Thus an object can be completely reconstructed in 3D in "one go".
Start of the automatic orientation
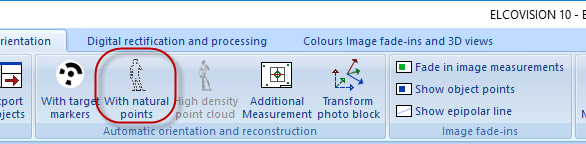
Start the automatic reconstruction using "Automatic orientation and reconstruction" - "With natural points"
If the project has not yet been saved a "Save As" dialog will appear. If possible save the project to a local hard disk, preferably an SSD with enough free space for the temporary data created by ELCOVISION 10.
Start page Automatic orientation
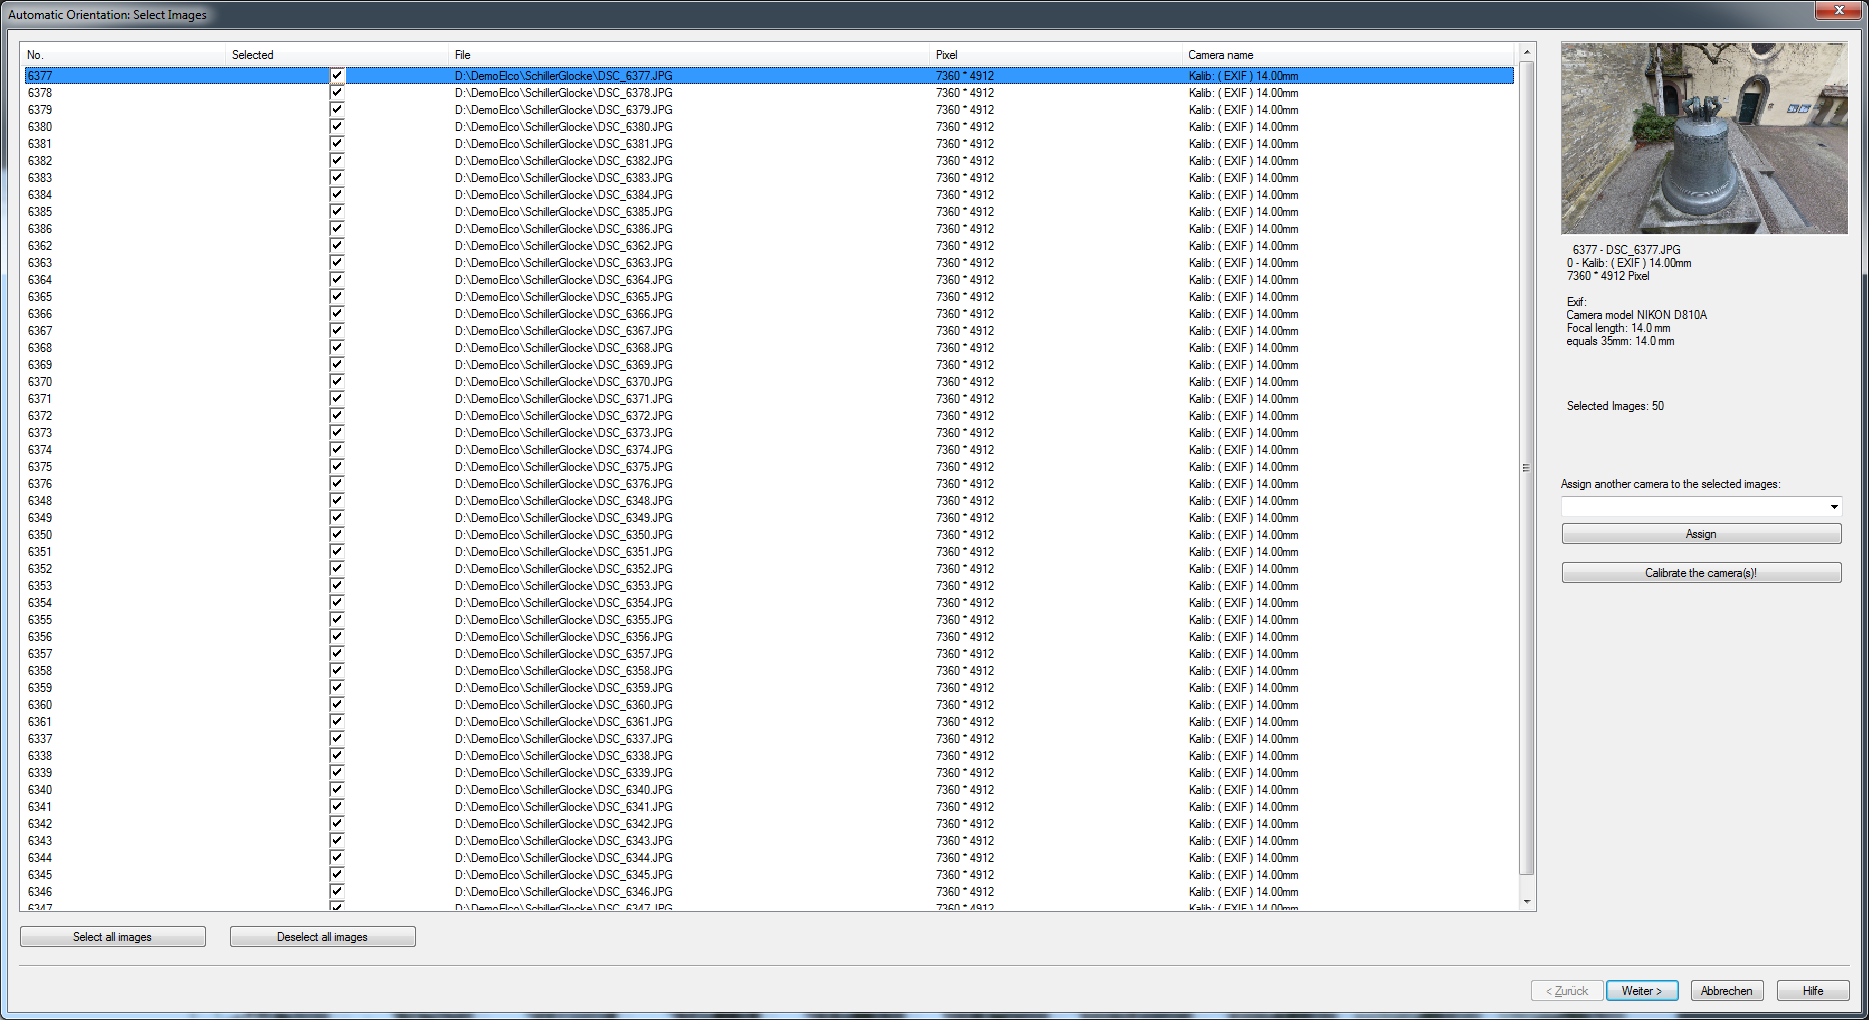
Here you can define whether pre-calibrated camera data should be assigned to the images or not. If there are suitable calibrated cameras in the camera file ELCOVISION 10 will assign them automatically to the images. If there are more than 5 images ELCOVISION 10 is able to calculate a good enough on the fly calibration during orientation.
Assign
Assigns the camera calibration data selected in the selection box to the selected images in the list.
Calibrate the Camera(s)
All selected photos in the list are marked for calibration.
Page Camera Calibration
If cameras are marked for calibration, this page follows. Here you can control the camera calibration

Camera List
Here you can see all the different cameras that ELCOVSION 10 was able to distinguish by EXIF data. Some of the columns are editable: Click 2 times slowly into a field and an edit field or selection box opens.
Column Camera
Here the camera names are listed. This column is not editable.
Resolution column
Here the resolution of the images of this camera is listed. This column is not editable.
Camera constant column
Here the a priori camera constant (focal length) of the lens is listed. If Exif data are available ELCOVISION 10 will assign them if not the CCD diagonal is used. If the diagonal is wrong you can edit it.
Column Images
Here is the number of images listed that probably used the same camera / lens combination.
Column Common
If the box is checked, all images are calibrated together. If the images are taken with different focus settings, it must not be checked. Then each image is calibrated separately. But this leads to a loss of accuracy.
Principal point position column
If there are canted images in the project this box can be checked to calibrate the principal point position. If ELCOVISION 10 detects that there are no canted images in the project during the image orientation this setting will be ignored. If the box is unchecked the orientation calculation will be a little faster.
Column Fisheye
If checked, the images are assigned a mathematical camera model that can model fisheye lenses
Camera model column
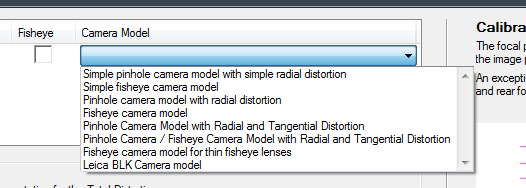
Here you can select which mathematical camera model should be used. The description below the list explains exactly what the selected camera model can describe.
Page Automatic Orientation: Information and Start
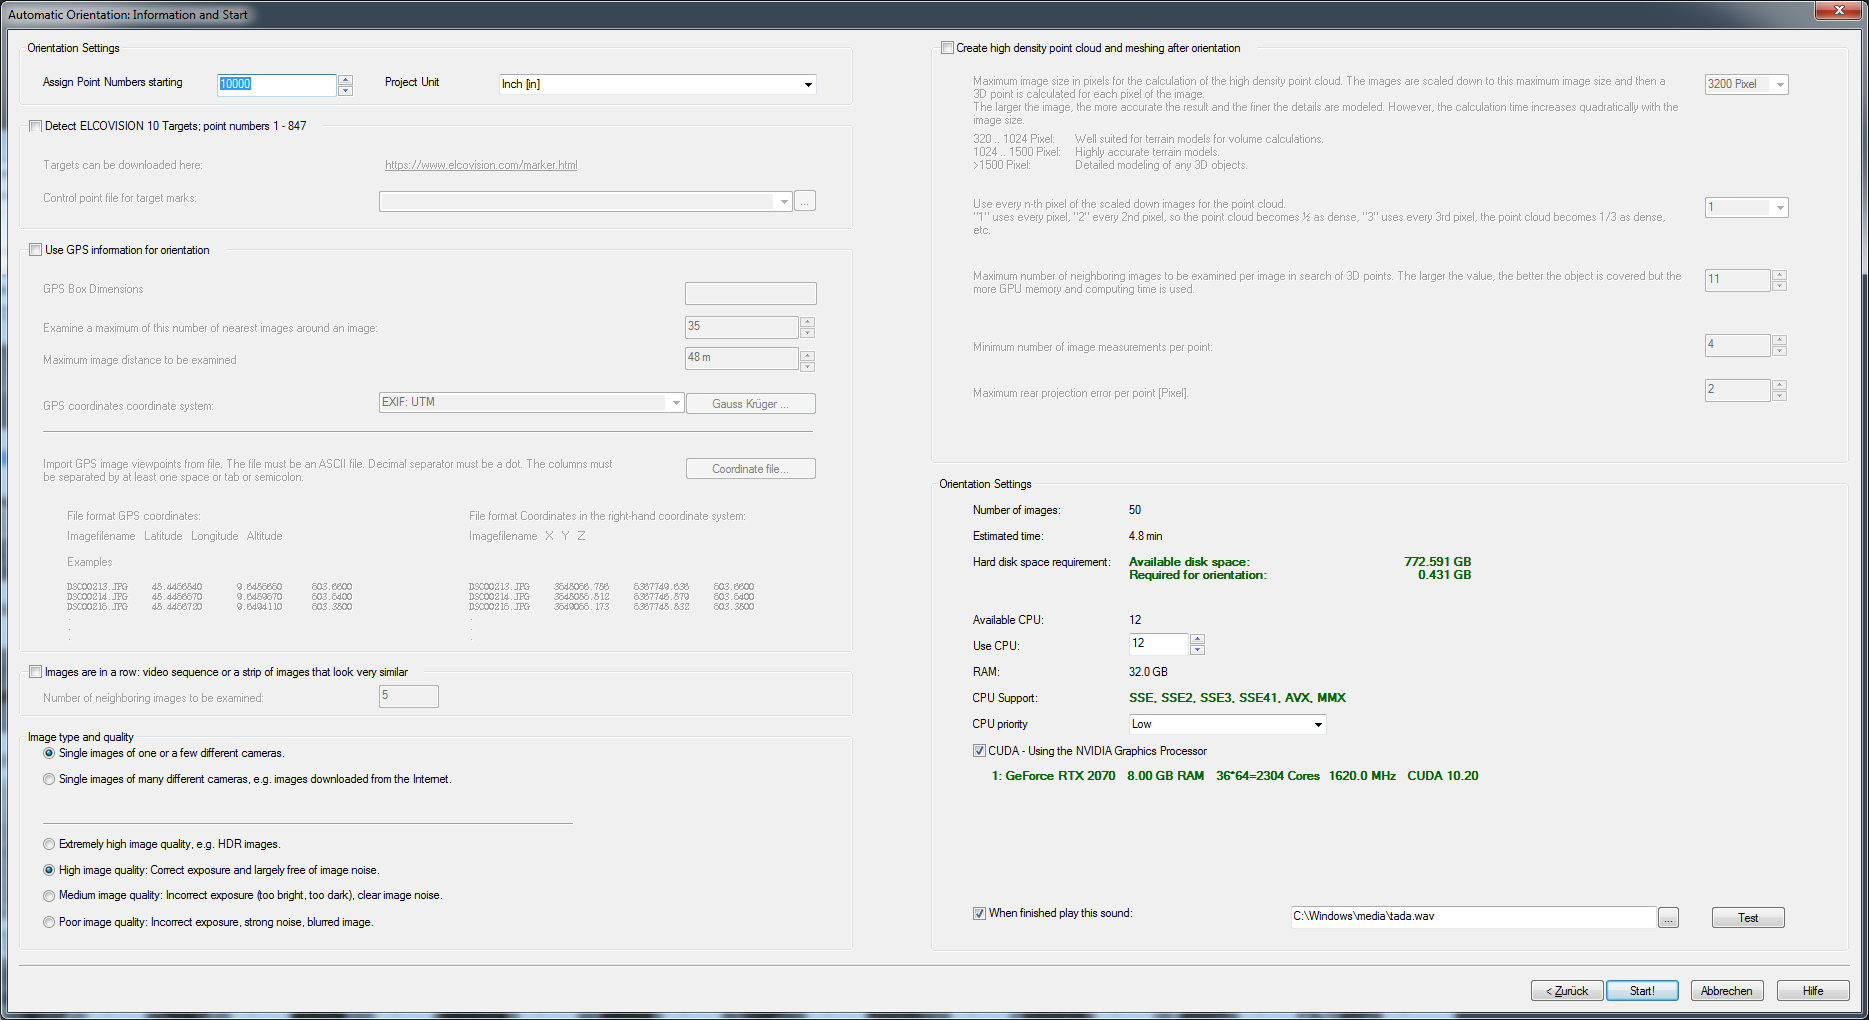
Here the calculation can be controlled more precisely.
Page Automatic Orientation: Analyze Images
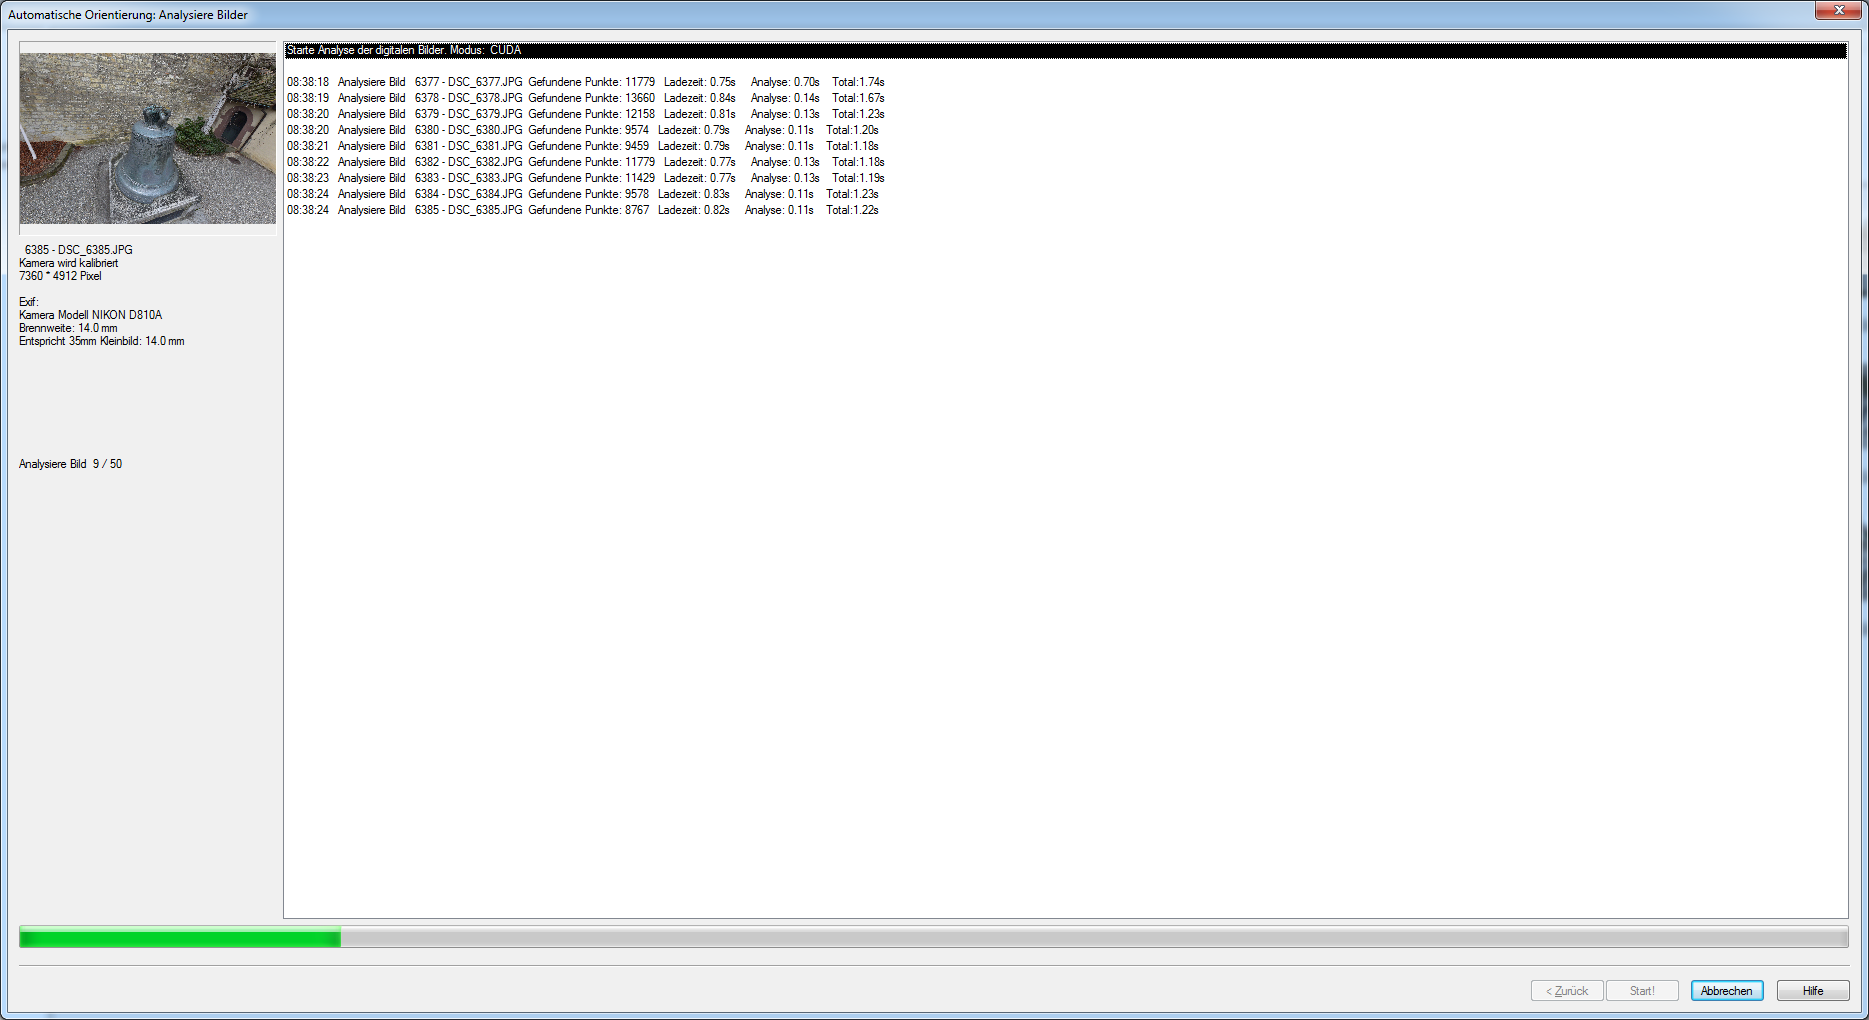
The processing progress is logged here.
Page Automatic Orientation: Orienting Images

The processing progress is logged here.
Page Automatic orientation: Result
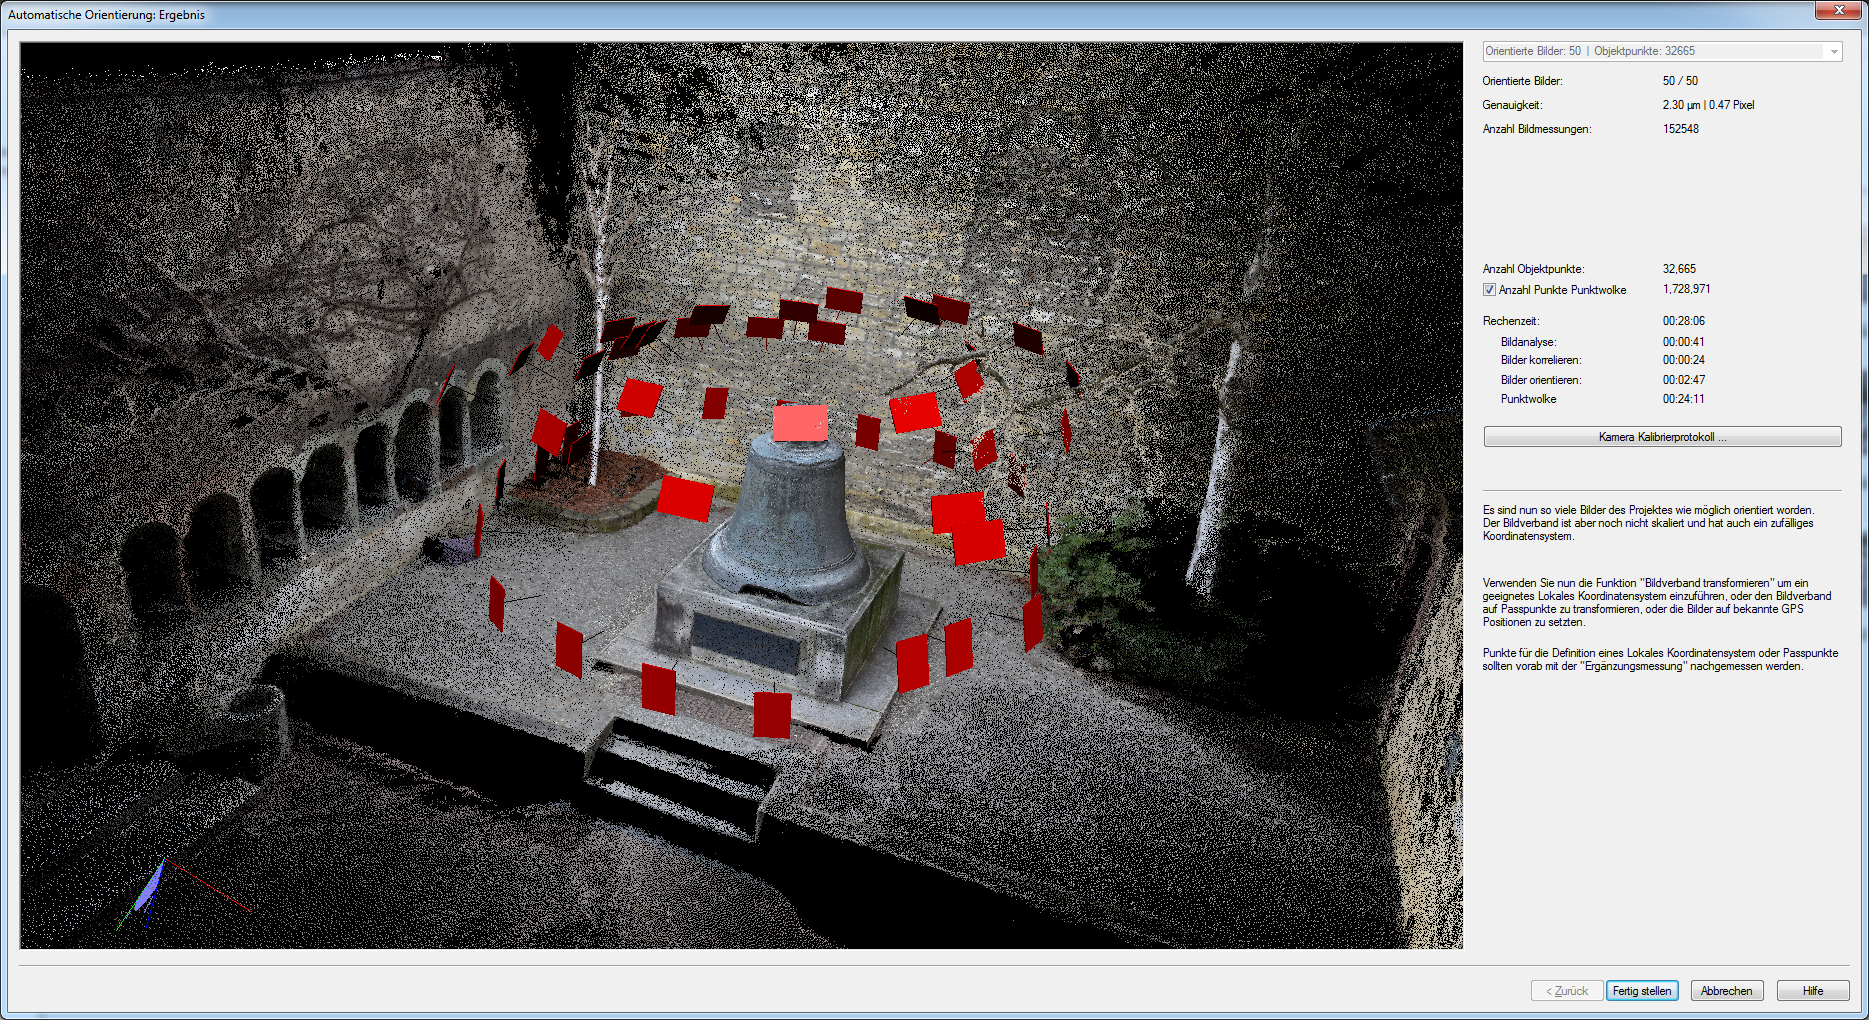
The result of the orientation is displayed here.
If for some reason the images do not all fit into one image set, e.g. because the images show different objects, ELCOVISION 10 calculates several photo blocks. With the selection box in the upper right corner you can decide which photo block should be used in the project.
Tips and Tricks
If you are not sure whether lenses with fisheye properties were used or not, select "Pinhole camera /Fisheye camera model with radial and tangential distortion" in the Camera Calibration list. You will get a guaranteed result, but the calculation time will be a bit longer.
If you have taken pictures of facades with a drone and you have flown the facade up and down, it is often better to switch off the GPS evaluation in the automatic orientation.