
Installation
Minimum Requirements
- Operating system: Windows 64 Bit: Windows 7, 10, 11
Windows 8.x is not recommended. - At least 4 CPU cores: e.g. Intel Core i5, i7, i9, AMD Threadripper...
- At least 16GB RAM
- NVIDIA graphics card with support for CUDA 9.1: GForce from GTX 6xx, Quadro from K600
- Monitor with a resolution of 1920*1080 pixel or more
Recommended Configuration
- Operating system: Windows 64 Bit: Windows 7, 10, 11
- At least 8 CPU cores: e.g. Intel Core i7, i9, AMD Threadripper...
- At least 32 GB RAM
- NVIDIA graphics card with 8GB RAM or more:
GTX 1070, GTX 1080,
RTX 2070, RTX 2080,
RTX 3070, RTX 3080, RTX 3090 - Monitor with a resolution of 1920*1080 pixel or more
ELCOVISION 10 Software Versions
The installation program installs several versions of ELCOVISION 10 which are optimised for different processors and graphics cards. ELCOVISION 10 itself is started indirectly by a small utility "ElcoStart.exe" which checks the hardware (CPU, graphics card) and NVIDIA drivers and then starts one of the following ELCOVISION 10:
el10_net8.exe: x64 CPU from 1st generation CUDA ≥ 9.1 Driver ≥ 391.29el10_net9.exe: x64 CPU from 2nd generation CUDA ≥ 10.0 Driver ≥ 411.31el10_net10.exe: x64 CPU with AVX2 instruction set CUDA ≥ 11.6 Driver ≥ 511.23
For testing purposes, any of the above el10_net*.exe can be started manually as long as the computer has a suitable CPU and graphics card installed and the NVIDIA driver is current enough.
el10_net8.exe is optimised for the oldest x64 CPUs and the older NVIDIA graphics cards, el10_net10.exe for the latest ones. Therefore, el10_net10.exe is about 30% faster than el10_net8.exe for lengthy calculations such as the automatic orientation or the calculation of the high-density point cloud, as it can fully exploit the latest hardware features. ElcoStart.exe tries to start the best possible ELCOVISION 10 for the installed hardware of the computer.
Software Installation
Start the installation program and follow the instructions. The installation program installs the ELCOVSION 10 orientation module and the CAD plug-ins. After the installation you can select the language in which ELCOVISION 10 should run, this can be changed at any time:
Switching the Language of the Application
ELCOVISION 10 is delivered in several languages. You can switch the language at any time with the language switching program:

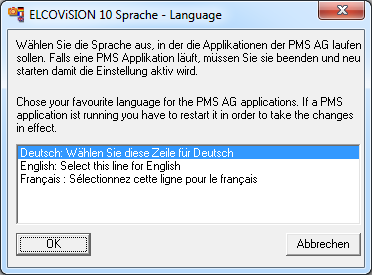
Select a language from the list. You have to restart ELCOVISION 10 to adopt the new language.
Installation Dongle Driver
Plug the ELCOVISION 10 dongle into a free USB port. Windows normally installs the correct dongle driver automatically.
If the dongle is not recognised correctly, install the following driver:
www.elcovision.com/download/Sentinel_LDK_Run-time_setup_8.11.zip
Error 1009: Can not open Hardlock driver
If the dongle is not detected despite the above driver, the command line version must be used to repair the driver installation:
www.elcovision.com/download/Sentinel_LDK_Run-time_cmd_line-v8.31.zip
Unpack the haspdinst.exe and start the Windows command prompt (cmd.exe, not Powershell) with admin rights if possible.
- Unplug the hardlock dongle.
- Remove existing drivers:
haspdinst.exe -fr -purge - Check if the drivers are really removed:
haspdinst.exe -info - Install drivers:
haspdinst.exe -i -ld - Plug in the hardlock dongle again.
Register the CAD Plugins in AutoCAD and BricsCAD

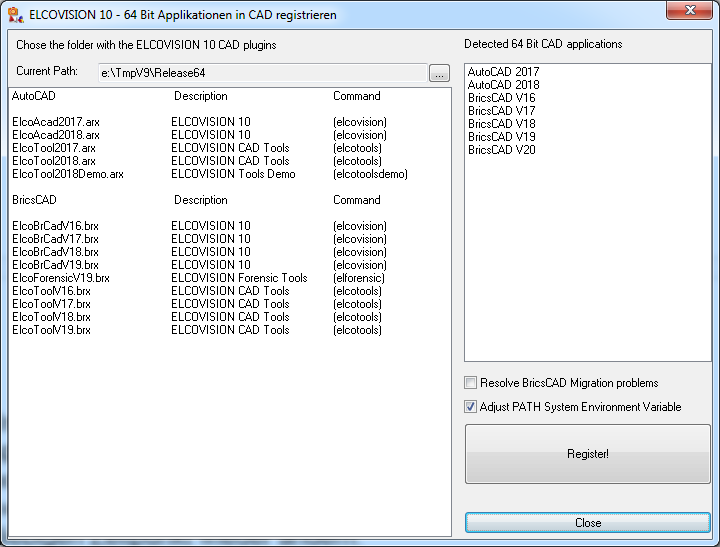
Click Register!. Then the ELCOVISION 10 CAD plugins are available with the registered commands in the CAD.